

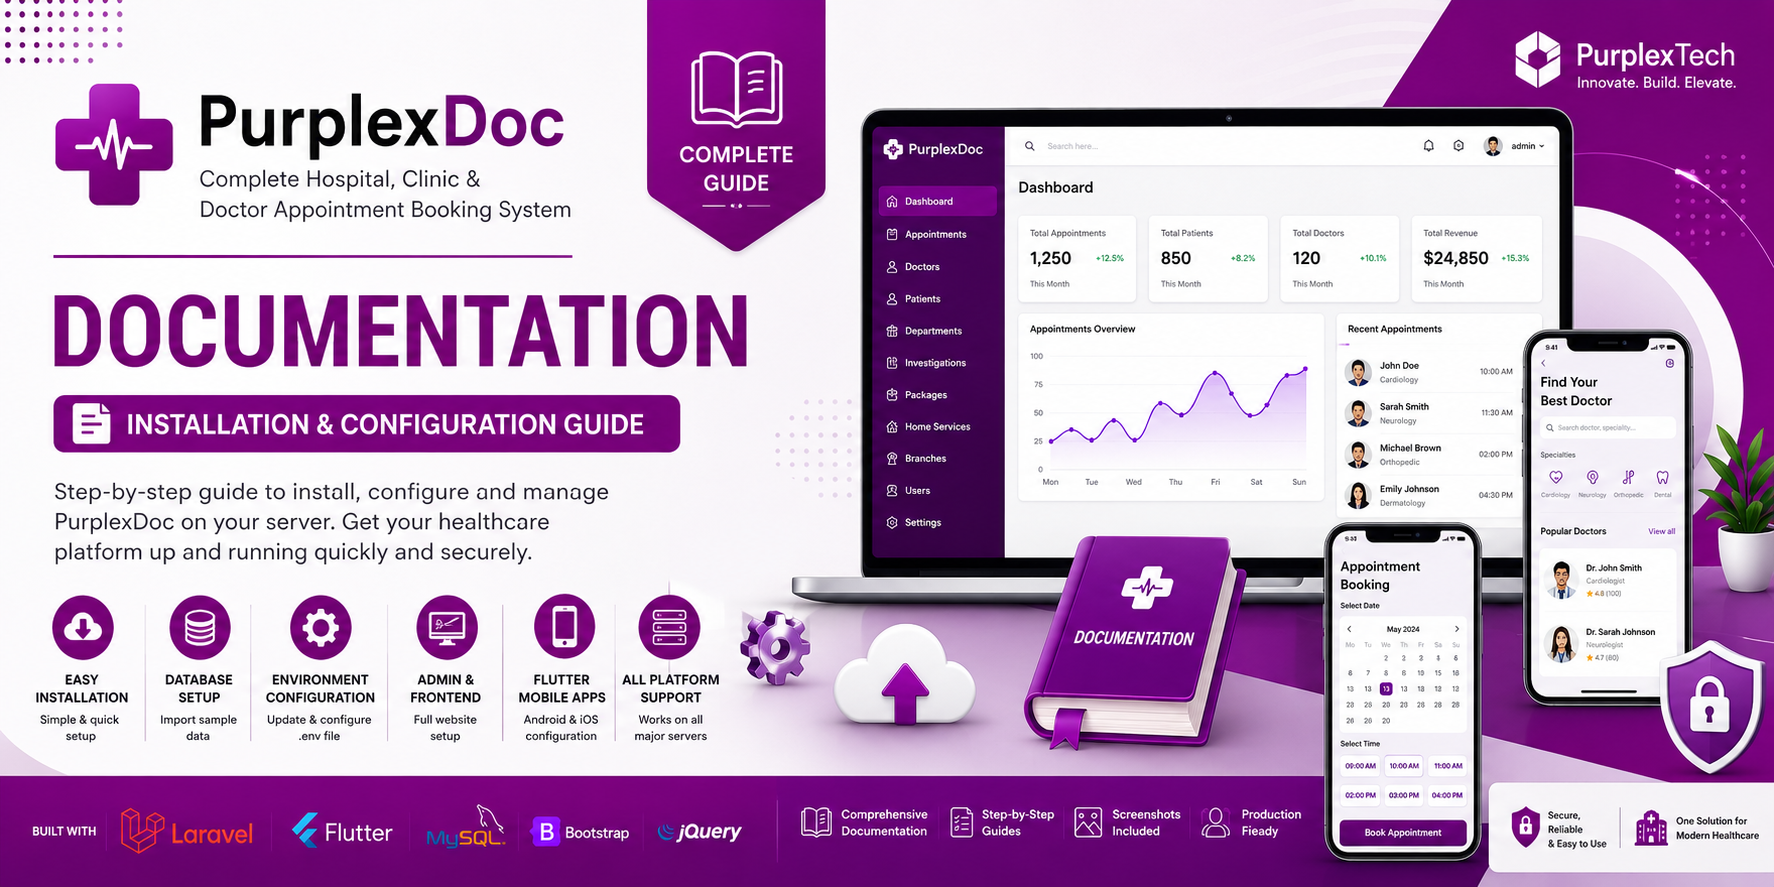
This guide provides step-by-step instructions for installing, configuring, and deploying PurplexDoc. Learn how to set up the Laravel web application, Flutter mobile apps, database, environment configuration, and admin panel to get your healthcare platform up and running quickly.
PurplexDoc Installation Guide
Table of contents [Show]
Complete Hospital, Clinic & Doctor Appointment Booking System
Version: 1.0.0
Developed by: PurplexTech
Distributed on: PurplexStudio
Welcome
Thank you for purchasing PurplexDoc.
PurplexDoc is a complete healthcare management solution built with Laravel and Flutter, providing everything needed to run a modern hospital, clinic, diagnostic center, or healthcare organization.
The package includes:
Laravel Website (Frontend)
Laravel Admin Panel
Flutter Android Application
Flutter iOS Application
SQL Database
Installation Files
Documentation
This guide will walk you through the installation process step by step.
Before You Begin
Ensure your hosting/server supports the following:
Minimum Requirements
PHP 8.2 or higher
MySQL 8+
Composer
cPanel, Plesk, DirectAdmin or VPS/Dedicated Server
Apache or Nginx
SSL Certificate (Recommended)
PHP Extensions required by Laravel
Supported Hosting Platforms
PurplexDoc works on almost every modern hosting provider including:
Shared Hosting (Recommended for beginners)
VPS Servers
Dedicated Servers
Cloud Servers
DigitalOcean
Vultr
Linode
AWS
Google Cloud
Microsoft Azure
Hostinger
Namecheap
HostGator
Bluehost
cPanel Hosting
CyberPanel
Plesk
Step 1 — Download Your Purchase
After purchasing PurplexDoc, download the latest package from your PurplexStudio account.
Download Page
Step 2 — Extract the Downloaded ZIP
After downloading the ZIP file, extract it.
You will find two main folders.
PurplexDoc Web
Contains:
Laravel Website
Admin Panel
Backend APIs
PurplexDoc App
Contains:
Flutter Android App
Flutter iOS App
Step 3 — Create a Database
Log in to your hosting control panel.
For this guide we will use cPanel, although the process is similar on other hosting platforms.
Open:
MySQL® Database Wizard
Create:
Database Name
Database User
Password
Assign the user to the database.
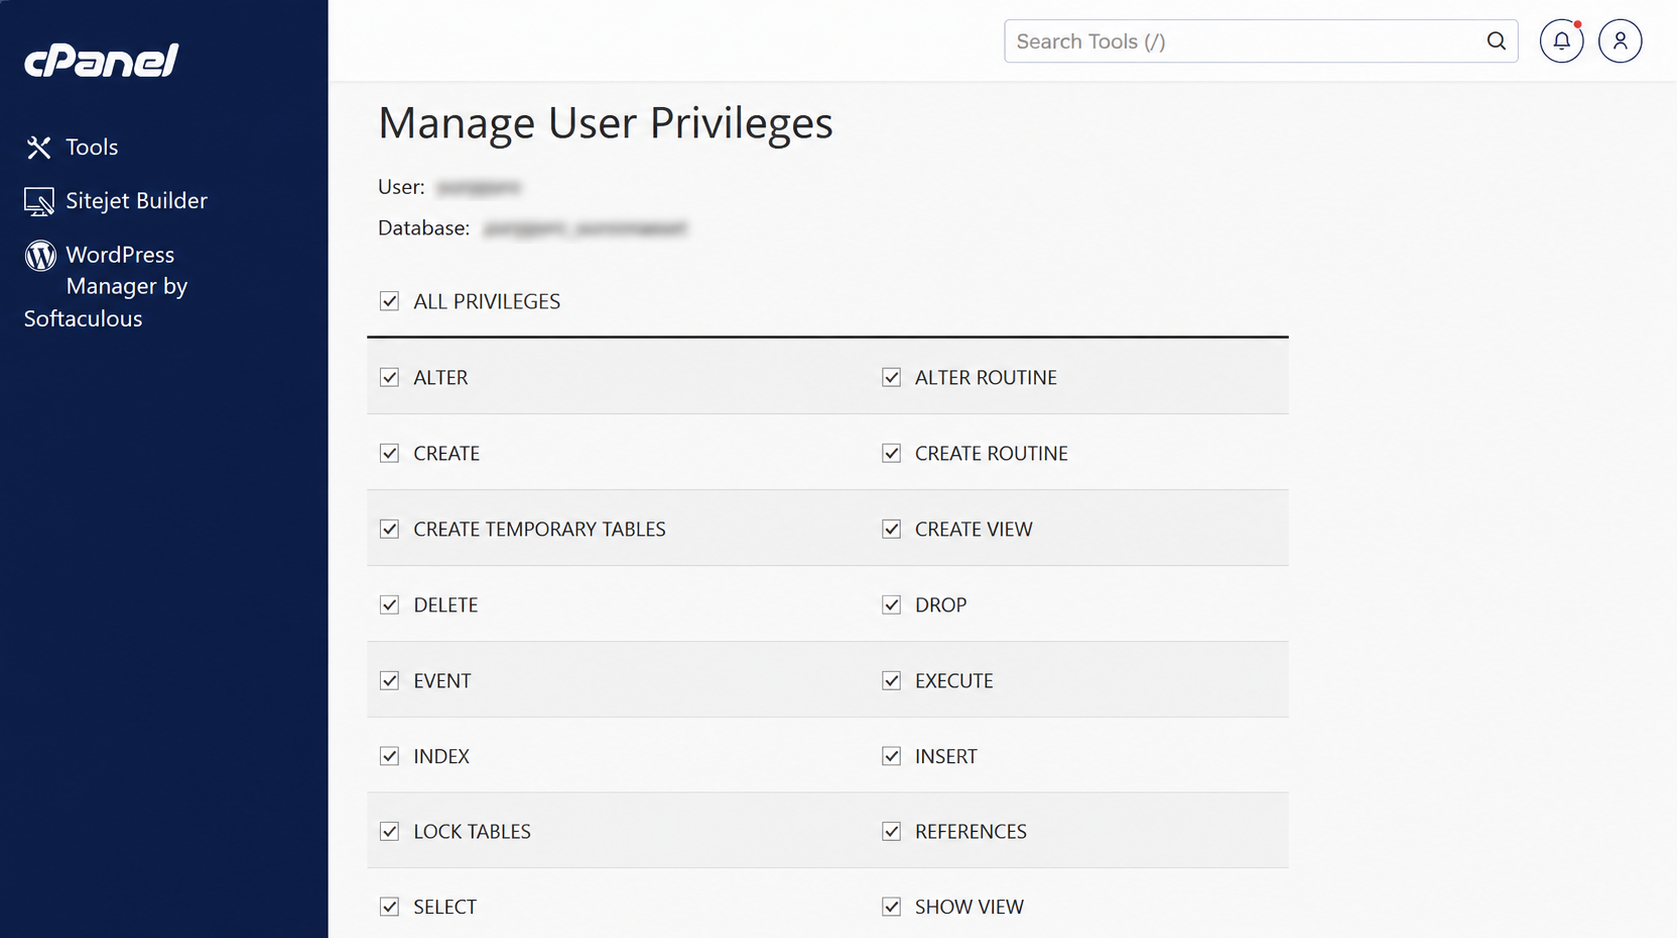
Grant:
✅ ALL PRIVILEGES
Step 4 — Import the Database
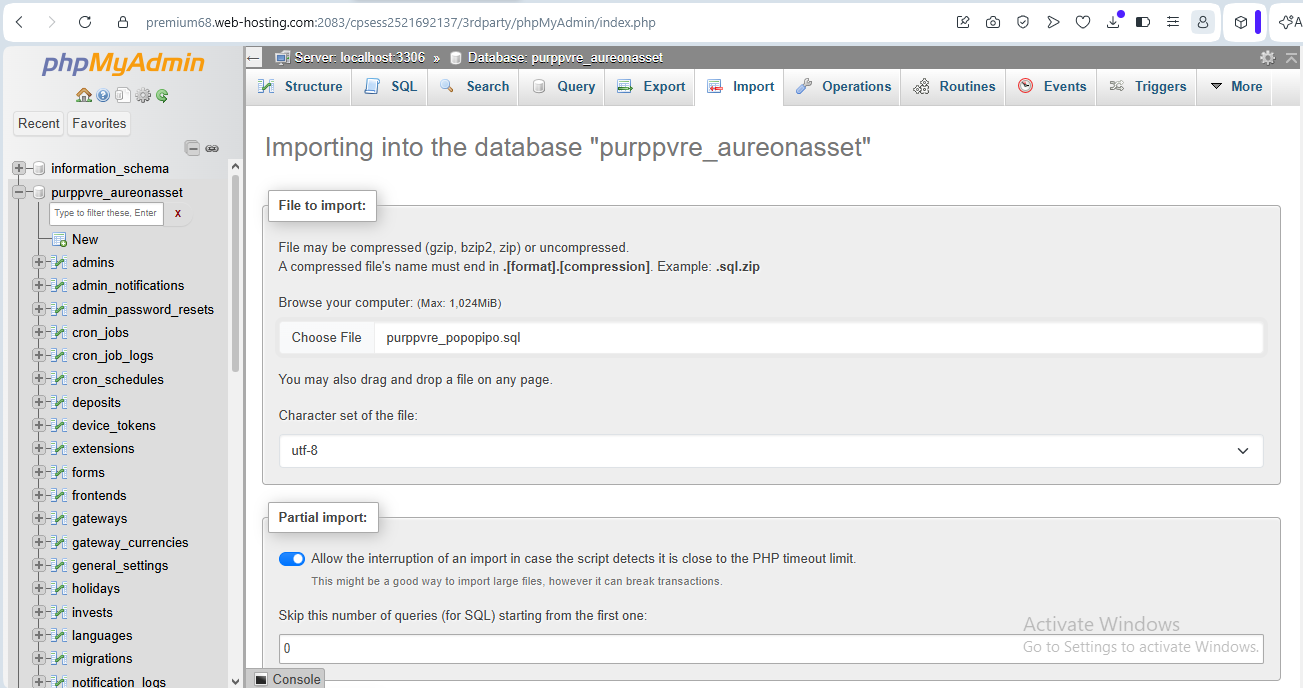
Open:
phpMyAdmin
Select the database you created.
Click:
Import
Locate the SQL file included with the product.
Database file:
purppvre_demodoc.sql
Import the SQL file.
Wait until phpMyAdmin displays:
Import has been successfully finished.
Step 5 — Upload the Website
Inside the extracted folder open
PurplexDoc Web
Upload all files into your hosting directory.
Usually:
public_html/
or
yourdomain.com/
After uploading, extract the ZIP if necessary.

Step 6 — Configure the Environment
Locate the file
.env
Update the following values.
APP_NAME=PurplexDoc
APP_ENV=production
APP_DEBUG=false

APP_URL=https://yourdomain.com

DB_CONNECTION=mysql
DB_HOST=localhost
DB_PORT=3306
DB_DATABASE=your_database
DB_USERNAME=your_database_user
DB_PASSWORD=your_database_password
Replace every placeholder with your own server information.
📷 Screenshot 6
.env Configuration
Step 7 — Configure Storage
If required by your hosting provider, ensure the Laravel storage is publicly accessible.
If your hosting allows SSH, run:
php artisan storage:link
Shared hosting users can create the symbolic link using their hosting provider's tools if required.
Step 8 — Set File Permissions
Ensure Laravel has write access to:
storage/
bootstrap/cache/
Recommended permission:
755
or
775
Depending on your hosting provider.
Step 9 — Configure the Flutter App
Open
PurplexDoc App
Locate the file containing the application's Main Base URL.
Replace the demo URL with your own website URL.
Example
Before
https://demodoc.purplextech.com
After
https://yourdomain.com
Save the file.
Rebuild the Flutter application.
Step 10 — Build the Flutter Application
Once the Base URL has been updated, build the Flutter app.
Example:
Android APK
flutter build apk
Android App Bundle
flutter build appbundle
iOS
flutter build ios
Your mobile applications are now connected to your own website.
Step 11 — Login to the Admin Panel
Your administrator panel is located at
https://yourdomain.com/admin
Example
https://hospitaldemo.com/admin
Administrator Login
admin@purplextech.com
Password
12345678
⚠️ Important
These are the default demo credentials.
After logging in, you should immediately:
Change the administrator email
Change the administrator password
Update your website settings
Configure your organization information
Configure SMTP/email settings
Update branding and logos
Step 12 — Update Website Settings
After login, configure:
Hospital Name
Logo
Favicon
Contact Email
Phone Number
Address
Social Media Links
Time Zone
Currency
SMTP Mail Settings
This ensures your installation is ready for production.
Step 13 — Verify Everything Works
Check the following:
✅ Homepage
✅ Doctor Listing
✅ Appointment Booking
✅ Departments
✅ Branches
✅ Investigations
✅ Health Packages
✅ Home Services
✅ Patient Registration
✅ Email Verification
✅ KYC Verification
✅ Admin Dashboard
✅ Flutter Android App
✅ Flutter iOS App
Folder Structure
PurplexDoc/

├── PurplexDoc Web/
│   ├── Laravel Website
│   ├── Admin Panel
│   └── API
│
├── PurplexDoc App/
│   ├── Flutter Android
│   └── Flutter iOS
│
└── purppvre_demodoc.sql
Troubleshooting
Website Shows Error 500
Check your .env configuration.
Verify database credentials.
Ensure file permissions are correct.
Database Connection Error
Confirm the database name.
Confirm the username.
Confirm the password.
Ensure the database user has ALL PRIVILEGES.
Flutter App Cannot Connect
Check:
MainBase URL
HTTPS is enabled
API is accessible
Website is online
Images Not Loading
Run
php artisan storage:link
or create the storage symlink according to your hosting provider.
Security Recommendations
Before launching your website:
Change the default administrator password.
Update the administrator email.
Enable HTTPS.
Configure SMTP.
Regularly back up your database.
Keep your server updated.
Use strong passwords.
Need Help?
If you encounter any issues during installation, please ensure you have followed every step in this guide before requesting support.
Helpful Resources:
Product Page
Documentation
https://blog.purplextech.com/purplexdoc-installation-guide
Thank You
Thank you for choosing PurplexDoc.
We appreciate your trust in PurplexTech and PurplexStudio. We hope PurplexDoc helps you build a powerful, modern, and reliable healthcare platform for your organization.
We wish you great success with your project! 💜